Add speech bubbles to your photos and comics
Start with a photo, illustration or comic panel. Create dialogue, thoughts and captions, then keep the text editable when you continue in MangaMaker.
From an image to a conversation
- 01
Choose your image
Upload a JPG, PNG or WebP, or start with a blank page.
- 02
Create the dialogue
Choose a bubble, write your text and adjust its lettering and tail.
- 03
Keep creating
Download a PNG or sign in to save editable layers in a comic project.
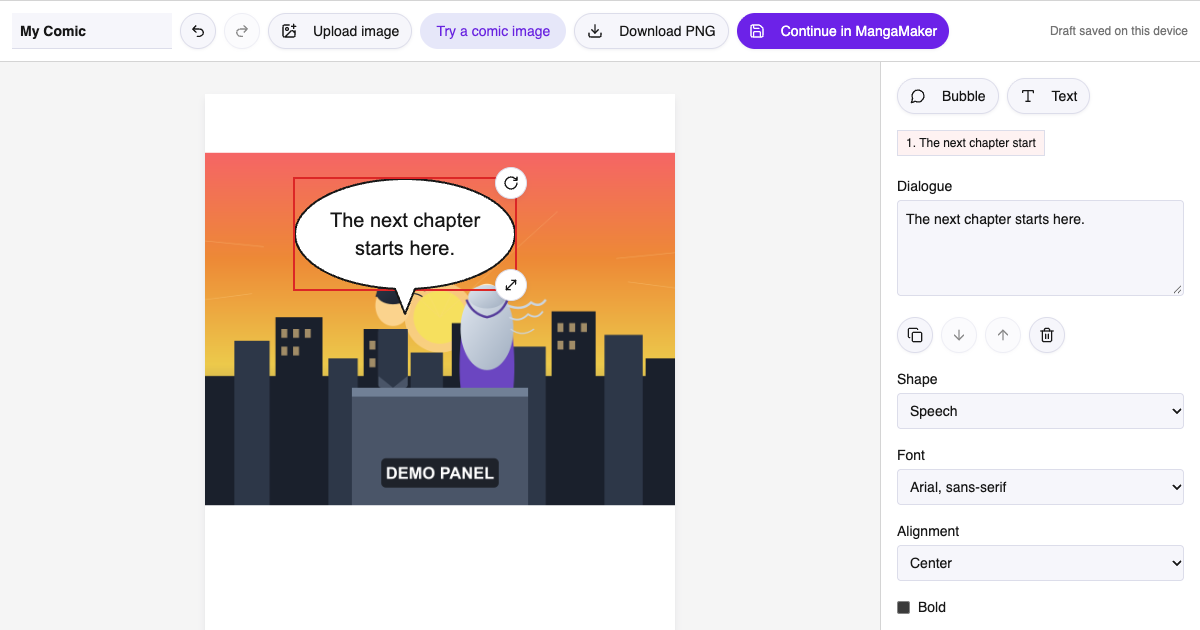
A speech bubble maker example: two speakers, one panel
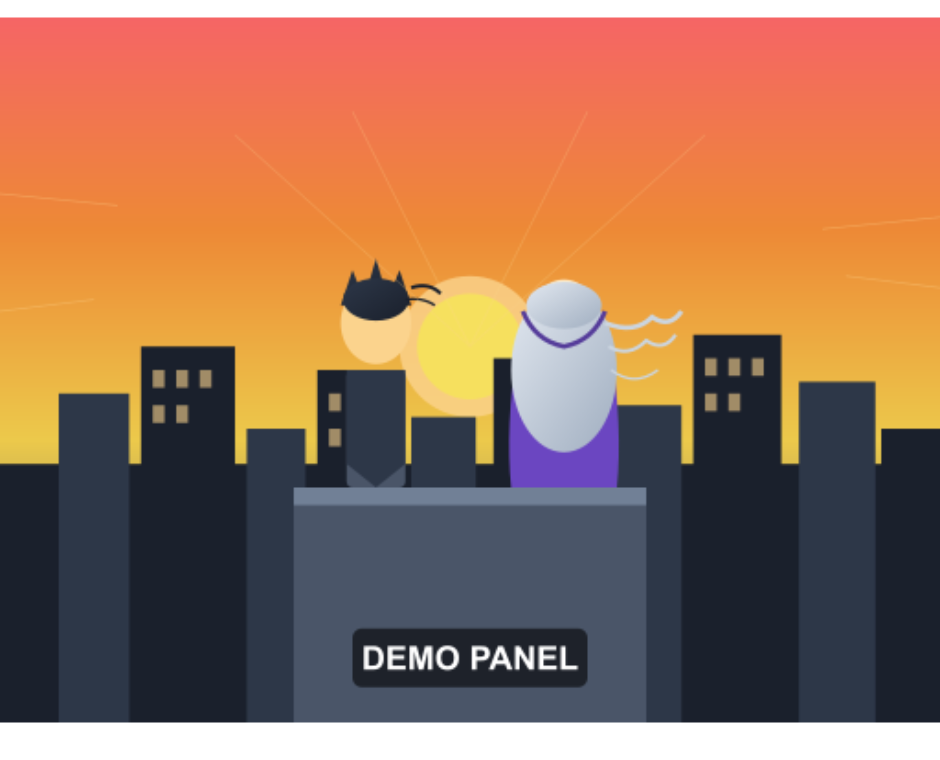
Start with the rooftop scene below. Without lettering, the image establishes a setting but leaves the conversation open. In this example, the first speaker asks, “Are we really doing this?” The second answers, “I'll take the first step.” Both lines are added as separate, editable speech balloons; the source artwork stays unchanged.
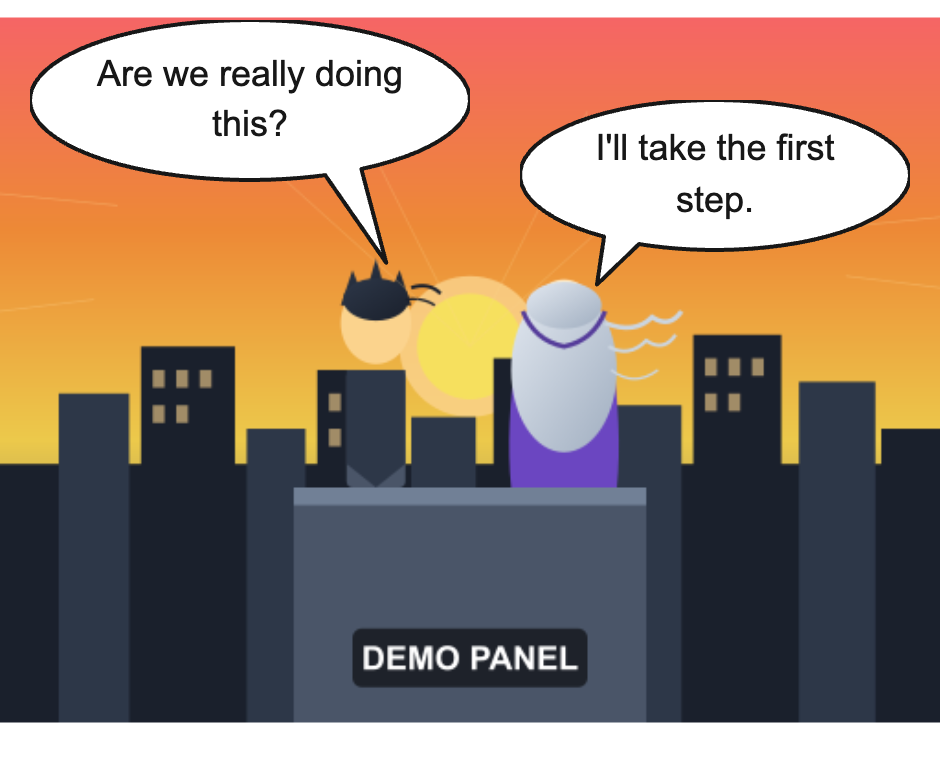
The question sits higher and to the left, so an English-language reader encounters it first. The answer sits lower and to the right. Each tail points toward its own speaker rather than crossing the other balloon. Dark lettering on a light fill remains readable against the colored background. Keeping the lines short leaves space for the characters and the setting.
Add your own dialogue in the editorArrange speech balloons for a conversation
Write the exchange before placing every balloon. Give each speaker a separate bubble, then arrange the bubbles in the order you want the dialogue read. For a left-to-right comic, begin near the upper left; for a right-to-left manga page, plan the sequence from the opposite side. Reading direction is a layout decision you make here, not an automatic rearrangement by the tool.
Check the tails after moving or rotating a bubble. Two lines that cross can imply the wrong speaker even when the words are clear. If one person speaks twice, keep their balloons close enough to follow, but leave a visible gap between them. This speech balloon maker keeps each object independent, so you can reorder layers or adjust one reply without changing the rest.
Choose the right bubble for your dialogue
Speech
Use a speech balloon for spoken dialogue. Point the tail toward the speaker and keep the wording short enough to read without covering their face.
Thought
Use a thought bubble for a character's inner voice. Its cloud outline and small trailing circles separate thoughts from spoken dialogue.
Shout
Use a spiked shout bubble for a raised voice or a sudden reaction. Give it enough room so the shape and lettering stay readable.
Caption
Use a caption box for narration, a location or a change of time. Captions do not need a tail pointing to a speaker.
For photos, manga panels and comic lettering
Add speech bubbles to photos
Turn a photograph or illustration into a conversation. Add separate bubbles for different speakers and keep the original image visible.
Letter a manga or comic panel
Add dialogue to artwork you own or have permission to use. Adjust the tail, text size, line spacing and padding for each bubble.
Continue with a complete comic
Save the page to MangaMaker to keep your dialogue editable, add more pages or generate missing artwork. AI features and project limits follow your plan.
See real comic projectsKeep comic dialogue easy to read
- Place the first line of dialogue where the reader should begin, then arrange the remaining bubbles in a clear reading order.
- Aim each tail at the right speaker. Keep faces, gestures and important details outside the bubble whenever possible.
- If text feels crowded, shorten the line, enlarge the bubble or reduce the font size. Preview your page at phone size before exporting.
Speech bubble maker FAQ
Is the speech bubble maker free?
Yes. Uploading, editing and PNG downloads do not use credits or require an account. Saving a comic project requires sign-in and follows your plan's project limit.
Are my photos uploaded?
Editing and downloads happen in your browser. The draft stays on this device. Your image is uploaded only when you choose to save a project in MangaMaker.
Can I edit my bubbles later?
Yes. This browser keeps your latest draft when storage is available. Saving to MangaMaker preserves each bubble and text layer for further editing.
Do I need AI credits?
No credits are needed for this tool. AI image generation and other paid features in the full comic editor follow the existing pricing rules.
What size is the downloaded image?
The tool uses a portrait comic page and fits your photo without cropping. PNG exports adapt to your source resolution, with a minimum 2× render scale and a 16-megapixel output limit. Enlarging a low-resolution photo cannot add missing detail.
Can I use the tool on my phone?
Yes. The canvas fits your screen, and bubbles support touch dragging, resizing and rotation. Text and style controls appear below the canvas on smaller screens.
Will the downloaded PNG have a watermark?
This tool does not add a MangaMaker watermark to the PNG download. Saving a project and exporting later from the full comic editor follows your plan's export rules.
Can I export a transparent speech bubble PNG?
Not in this version. You can make a bubble's fill transparent, but the exported comic page has a white background. The tool currently exports the complete portrait page, not individual transparent stickers.
Fix common speech bubble editing problems
The words do not fit
Enlarge the bubble, reduce horizontal or vertical padding, or split a long sentence into two bubbles. Reduce font size only after those options: a line that fits on your monitor can still be too small on a phone. The editor does not rewrite or automatically shorten your dialogue.
A balloon covers an important detail
Move the balloon into quieter space in the image and use the tail-direction control to keep the speaker clear. If there is no spare room, shorten the exchange instead of covering a face or a gesture that explains the scene.
The tail points at the wrong speaker
Select that bubble and adjust Tail direction and Tail length. Rotating the whole bubble rotates the lettering too; use the tail controls when you only want to change where the pointer ends.
The downloaded picture looks soft
Use the highest-quality source image you have. Exporting at a larger size cannot restore detail that was missing from a small or compressed upload. Keep text as editable lettering until the final download rather than repeatedly uploading screenshots of earlier exports.
Download one image or keep building a comic?
For a single photo caption or comic panel, a PNG download may be all you need. For a longer story, save the page to MangaMaker: its speech bubbles and text remain separate layers, so you can revise dialogue later. You can add pages and your own artwork without turning every edit into an AI request. Generating new images is optional and follows the usual credit rules.
Explore complete comic examples